
Posted on: Fri 21 Sep, 2012 by Gary Dean
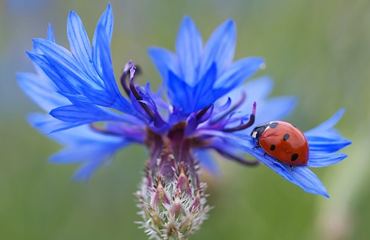
Have a look at your camera and you will more than likely notice a small flower emblem on your settings dial. By positioning your wheel at this point you are setting your camera up for automatic macro shooting. This eradicates the need to learn all about the complicated field of macro (the technical term for close up photography) shooting.
Even though it’s never been easier, there are still some fundamentals that you should adhere to when shooting in close up mode.
Lighting
Firstly, light is all-important. Having a good source is a key factor in grabbing a great shot. A good illumination will eradicate the need to use flash.
Outside can be a good place to photograph – just as long as the weather is playing ball. Natural light is always better than artificial. If you have to shoot indoors, then place the subject next to a window and maximise what you have readily to hand.
Steady shots
Remember that if you are taking a photo of a product, the audience needs to be able to get a good impression of what it is that you are showing them. Avoiding blur and camera shake is particularly important here – consider resting your camera on a suitable surface to ensure it is steady before taking your shot.
Avoid reflection
Be aware of reflective materials on your product too. It may be worth experimenting with different angles if this is the case, to avoid confusing the shot. Colours and images reflecting off surfaces detract from what the point of interest is, which can be off putting and even misleading for people looking at your photo.
Focus
Using your auto focus means that you don’t need to play around with manual settings. Many of the auto settings on your camera are of great benefit and as long as you are not after truly professional results then there is nothing wrong with using these tools. They will help you achieve a quality shot without needing to complete a photography course!
Shooting background/surface
Consider the surface that you are shooting your item on. The product needs to really stand out and having a busy background will detract. If your subject is plain then your surface really needs to be muted, whereas if your subject is garish and colourful then consider shooting on surface or with a background that brings out the best of it for the final image.
Depth of field
Finally, if you wanted to experiment then you could consider altering your depth of field, which will bring certain parts of your photograph into sharp focus while softening other aspects of your shot.
Depth of field (DOF) in layman’s terms is the distance between the nearest and farthest objects in a scene that appear acceptably sharp in an image You can adjust your depth of field with your aperture setting. If you experiment with this then who knows what results you may achieve.


